
As we finished with the most recent “blizzard” of 2024, we headed into a deep freeze. I estimated at least three weeks before I could get to a range, unless I got desperate and headed to one of the few indoor facilities there are around.
As there were products here for evaluation, it was a good time to prepare for upcoming outdoor activities while inside. Both projects had to do with sighting systems on handguns.
As Jim Shepherd reported here, Burris Optics has released a pistol-mounted optic for compact autos, this being the FastFire C. The ca.-$276 optic weighs less than an ounce, has a reputed 25,000 hour run time with the Burris “Always On” technology, is powered by a CR2032 battery and has a low-profile form factor. This allows – where there’s direct mounting to the slide – a co-witness with standard height iron sights. Manual settings and a removable “rear sight” notch round out the package.


I had one to install on an “optics ready tiny gun” – but I had been returning guns like that to manufacturers. The one remaining gun available in that form is the Springfield Armory Hellcat Pro. That’s the gun that got the optic.
Jim ran the mini-red dot on a pair of Stoegers, the Micro-C and the 9C, with good results.
I got out more gear than I ended up needing. Following directions, something I’m getting better at, I installed the FastFire C without issues. I’ll mark the mounting screws after a recheck for tightness and shoot the gun (if the weather breaks), rechecking to see if there’s movement off the paint mark.
The polymer housing, with the lens shielded from impacts, keeps the weight down. This is something to consider for pistol reliability. The weight of the slide (and anything mounted to the slide) can affect auto-pistol function. There are aggressive serrations along the leading edge of the hood to “take a bite” when having to rack the slide one handed off an object.
The package includes four different sizes of mounting screws with a layout of which screws mount to which pistols.
It seems they thought of everything.
Installation was a breeze. There will be more to report when the gun/optic get used at the range.
Now it was time to install improved sights on an older gun.
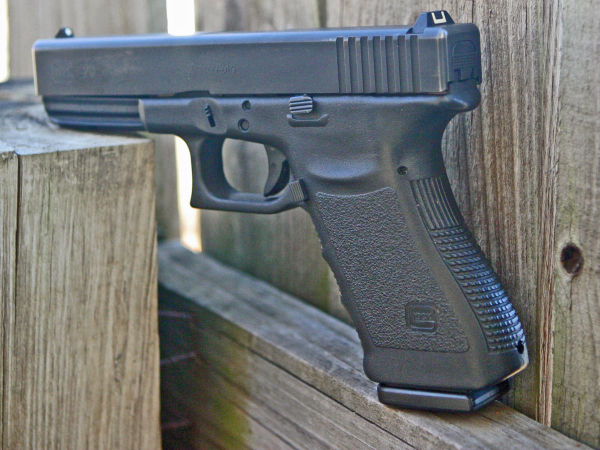
Back when I worked with my police trade-in GLOCK 20, a Gen3 from Florida – now a multi-caliber gun courtesy of barrels fitted at Jarvis Custom some years ago – I noted that the issuing agency, while specifying a NY-1 trigger, never replaced the factory GLOCK plastic sights. After the feature ran, I was contacted by an individual who decried my use of such closed-in polymer visual solutions. As he worked for a company that makes replacement sights – XS Sights – he insisted that I try something of theirs.
We ended up with the F8 Night Sights and the “Gunsmith Series” Inline Sight Pusher by the same company.

The F8 sighting arrangement is similar to a concept that Richard Heinie used “back when” with his Straight-8 sights. That is a tritium vial centered under the rear sight notch of the large XS rear sight and a vial centered in that high front sight, itself surrounded by a bright orange ring.
It’s not always dark.
As I attempted to learn the inline sight pusher, I became aware that I was overthinking it. Removing the factory rear sight was a matter of moments.

I’ll confess to having watched a couple of videos on the XS site repeatedly before beginning the process. I’m not mechanically inclined. It seems this tool is appropriate for someone simple as its use is simple.
When it was time to install the new rear sight, it was easy – and I’d degreased both sight and slide before installation. With nothing to minimize friction between the parts, it likely took more pressure, but it wasn’t nearly as difficult as other sights on other gun makers’ slides – with other tools. Still, this is no heavy-duty device.
It’s just enough for smart sight installation, not for brute force.
The front sight replacement was interesting – the old gun had the early crimped-in front sight; it was “pre-front sight screw.” In all the years I’ve done this, it was the first pinned front sight I’d removed from a GLOCK. Again, don’t overthink it. It was a matter of moments with a search engine and reading just a few forum posts and the front sight was off. Replacing it was interesting.
The nice GLOCK front sight tool that came with the inline sight pusher – and it’s used as a handle for the turning screw on the sight pusher – has a magnet inside. It nicely keeps that pesky front sight screw in place so you can use some thread locker on the threads and get it lined up in the front sight tenon.
But the magnet stayed in the slide with the front sight screw.
It took some moments and some fancy work to get the magnet recovered but the front sight is on.
These sights are huge. Perhaps I’ll be able to see them.
I already have ammo set out to try this new sighting arrangement. More to come on this project later too.
— Rich Grassi